How To Put An Adjustable Bed Frame Together?
- Big Mattress Outlet
- May 19, 2025
- 4 min read

Getting a new adjustable bed frame is exciting—it’s like upgrading your entire sleep experience. But when the box arrives and you see all the parts, you might wonder where to even begin. Don’t worry! Putting it together isn’t as complicated as it looks, and with a little guidance, you’ll be enjoying personalized comfort in no time.
Whether you’re a DIY pro or completely new to assembling furniture, this step-by-step guide will walk you through the process with ease. From unboxing the parts to plugging in the remote, we’ll show you exactly how to put your adjustable bed frame together—without the stress or confusion. Let’s get started!
Step 1: Prep Your Room and Tools
Before anything, clear the space where you’ll be assembling your adjustable bed frame. You’ll want a wide, open area—ideally with good lighting. Move nightstands or anything close by so you have room to maneuver.
Here’s what you’ll need:
Screwdriver or drill (depending on your frame)
Allen wrench (usually included)
Power strip or surge protector
Instruction manual
You may not need extra tools if your bed came with its own hardware. But it’s good to have backups just in case.
Step 2: Unbox and Sort the Pieces

Once the area is ready, unbox the parts carefully. Lay everything out on the floor. Avoid stacking pieces or tossing them around—you want to keep the electronics safe.
Take a quick look at the instruction manual and match the pieces. It’s boring, yes—but skipping this step often leads to wasted time when you realize something’s missing halfway through.
Look for:
Side rails
Motor or lift mechanism
Mattress retainer bar
Remote control
Legs or wheels
Cables and power adapter
If anything’s missing or looks damaged, stop and contact customer service before going further.
Step 3: Build the Base Frame
Now to the actual build.
Start by connecting the side rails and crossbars as shown in your manual. Most adjustable frames have a metal base that’s straightforward to assemble.
Line up the holes, insert the bolts, and lightly tighten them. Don’t crank them down until everything is lined up properly—this gives you some wiggle room if adjustments are needed later.
Step 4: Attach Legs or Wheels

Next, add the legs or wheels. Most frames will have screw-in legs that are quick to secure. Some models offer adjustable leg height—go ahead and pick what works best for your room.
Want more under-bed storage? Go higher. Prefer a low-profile look? Stick with shorter legs.
Make sure all legs are firmly attached and even. A wobbly bed isn’t just annoying—it can be dangerous once the motor starts moving.
Step 5: Connect the Motor and Adjustment Mechanism
Now you’re ready to install the motor and lift mechanism. This is the “adjustable” part of the adjustable bed frame, so take your time here.
Slide the motor into position and secure it with any brackets provided. Then connect the motor’s wires to the ports on the frame. If your model has head and foot adjustments, you’ll probably be dealing with two motors.
Avoid running the wires across open floor space—they can get caught later when you move the bed or test the controls.
Step 6: Add the Mattress Retainer Bar
This small piece does a big job. The retainer bar keeps your mattress from sliding off when the bed is raised.
It usually hooks into the foot of the bed and is held in place with screws or brackets. Once it’s attached, give it a quick tug to make sure it’s secure.
Step 7: Plug It In and Test the Remote
Now plug the bed into a power outlet. If you have a surge protector, use it. Adjustable bed frames can have sensitive electronic parts that don’t like power spikes.
Grab the remote and test the functions:
Raise and lower the head
Raise and lower the foot
Try memory settings or massage options (if included)
Is everything working? Great.
Step 8: Tighten Everything and Double-Check
Now that it all fits and works, go back and tighten every bolt and screw. Make sure the bed is sturdy and doesn’t shift when you lean on it.
Also, check that none of the wires are exposed or pinched. Tug each connection slightly to make sure it's solid.
Step 9: Put the Mattress On
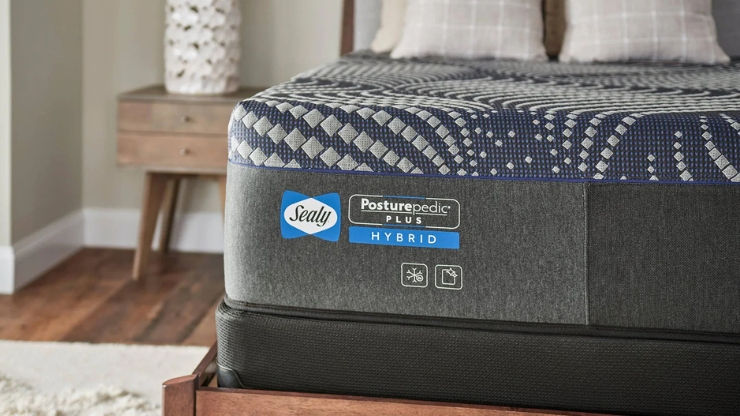
Carefully place your mattress for adjustable bed frame. Make sure it’s the right kind—flexible foam or hybrid mattresses usually work best with adjustable beds.
Test it again. Raise the head, lift the foot, and make sure the mattress stays in place.
Step 10: Clean Up and Relax
Throw away the boxes, recycle what you can, and keep the manual somewhere safe. You might need it later for troubleshooting or moving the frame.
Then, enjoy your new setup. Whether you’re reading, watching a show, or easing back pain, the best adjustable bed frame can really make a difference.
Get an Adjustable Bed Frame That’s Easy to Set Up
Putting together your adjustable bed frame is easier than you think. Follow our simple step-by-step guide to assemble your frame quickly and start enjoying its flexible support right away. Big Mattress Outlet offers adjustable bed frames for sale that are easy to assemble and built to last. Call us now!
Final Thoughts
Adjustable bed frames aren’t just for comfort—they’re practical, especially if you deal with snoring, back issues, or poor sleep. Getting the setup right means less hassle and better nights ahead. Take your time, follow each step, and don’t be afraid to ask for help if something feels off.
FAQs
Can I set it up by myself?
If you’re comfortable lifting moderate weight and following basic steps, yes. But having a second person really helps, especially with heavier models.
Do I need special tools?
Most adjustable bed frames include the tools you’ll need. A basic screwdriver or drill may make the process faster.
Will it work with my existing mattress?
It depends. Foam and hybrid mattresses usually work best. Innerspring mattresses are often too stiff.
What if the remote doesn’t work?
Make sure it’s connected to power. Try new batteries, or check the cables. If nothing helps, contact the manufacturer.
Can I use a headboard or footboard?
Yes, but you may need extra brackets depending on your frame. Always check the model compatibility before attaching.


Comments